Easter has gone also this year, and as always I spent a lot of time in the kitchen 🙂
A tasty lamb for Sunday (as usual), and for the Easter Monday this year I decided to make for the first time this very famous recipe of the Neapolitan tradition.
Casatiello and Tortano are very similar: the dough is the same and the ingredients too, the difference is that the Tortano has sliced boiled eggs in the filling while the Casatiello has whole eggs placed on the surface and blocked with crosses made with dough (moreover the Tortano is sometimes made not spreading the ingredients on the surface and then rolling the dough but the ingredients are directly mixed inside the dough).
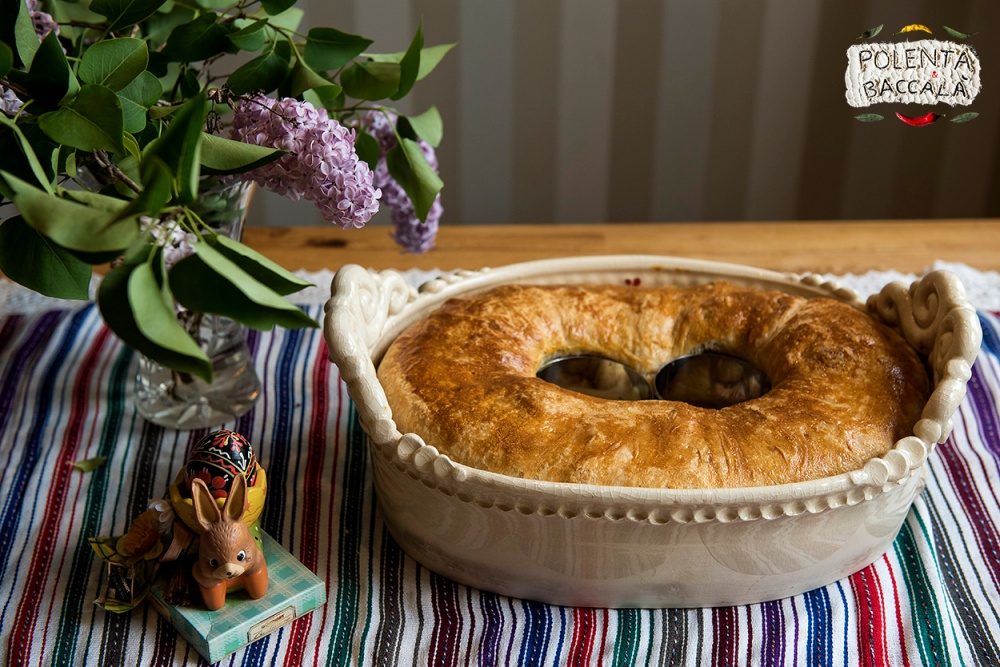
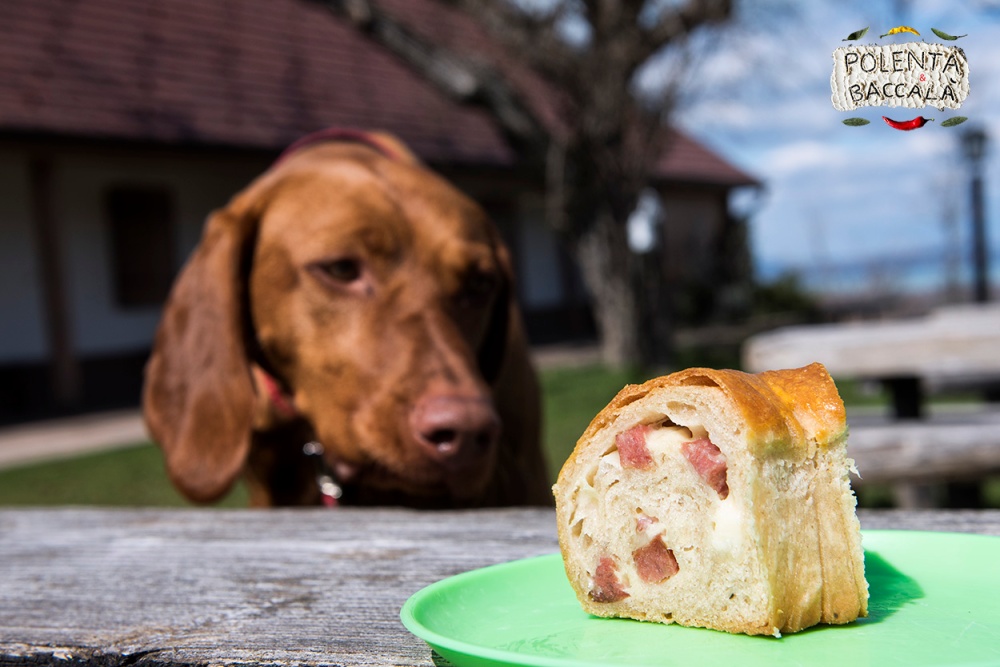
Unfortunately I forgot to save a piece of dough to make the crosses on the eggs, so I didn’t place the eggs…in the end I made a “Casatiello without eggs” 😀 and I also used a different shape because that’s the largest I had (traditionally it should be a round doughnut shape, called “ruoto”, symbolizing the crown of thorns of Jesus)…not a problem, it was very tasty also like this, indeed the ingredients were very good!
The casatiello is typically made in this period of the year and often eaten on the Easter Monday as a picnic food, but also simply at home, and is good for 3-4 days long.
It’s a recipe full of symbolism, and as all the traditional recipes every family has its versions of it, but there are some ingredients that cannot absolutely be missing: the flour, the eggs, the salami, the lard, the Pecorino cheese and the ciccioli (in Naples called cicoli).
It’s a very rich and heavy recipe, but remember that traditionally it was made in a period that comes after days of abstinence.
And since it’s quite heavy, in Naples when a person is particularly boring and bothering they say that he is a Casatiello 🙂
It’s a preparation that requires many hours to be made well, originally it was made using sourdough while nowadays many people use the fresh baker’s yeast, but with the right amount of it, a good technique, good quality flours and a proper maturation time, also with yeast you can have great results.
The best is to use flours with a higher strength, in Italy we have for example the so called “Farina di Manitoba” (“strong bread flour” in UK and USA). And I also used a very good organic “Farina Tipo 2” (I think it should be about like the “first clear flour” in USA and “1050” in Germany, for example), stone ground, which gives a very good and rustic taste and it also absorbs better the water than average flours (it’s also quite strong, W290) helping to have a lighter and softer final product.
I also used still mineral water from a bottle and not tap water, because the chlorine and a possible too hard water don’t help the yeast to develop perfectly, since I don’t use much yeast but just what’s enough.
INGREDIENTS (for a big one, enough for 15-16 portions, or for 2 round oven pans of 26-28 cm. If you want to do just 1 small, then cut in half all the ingredients amounts):
Dough:
- 1 kg flour (I used 350 g of “Farina di Manitoba” and 650 g of “Farina Tipo 2”)
- 200 g of lard (50+150)
- 8-10 g of fresh yeast
- 2 teaspoons of freshly ground black pepper
- 24 g of salt
- 1 spoon of honey (or better, malt)
- 700 ml of still mineral water (this depends on the flours you use and the quantity can vary, the better flours can absorb more water and a higher hydration helps to obtain better results)
Filling:
- 350-400 g salami (Neapolitan type for the traditional recipes, I used a “Brescia type” this time)
- 350-400 g of Provolone piccante cheese
- 150-200 g of Pecorino Romano DOP cheese, which you have to grate
- 100 g of cicoli napoletani (if you don’t have, add some more salami)
- 4-5 eggs
- To make it in this way, with little yeast, we have to start preparing the dough the evening before (or if you prefer you can use 25 g of fresh yeast and wait just 2-3 hours, but with less yeast the taste is better and the dough easier to digest). Start putting in the bowl of the stand mixer/kneader 150 g of the Manitoba flour (strong bread flour) previously sifted, 200 ml of water (at room temperature or a bit warm), the malt/honey and the fresh yeast (crumbled, broken into small pieces), and whisk everything for few seconds until you have a batter. Cover with a plastic wrap and let it rest for 30 minutes, until the yeast will make little bubbles on the surface.
- Then add all the remaining flour (sift it), 50 g of lard (very soft/melted), the black pepper and the remaining water (not all in one) and start working the dough with the stand mixer. When it starts to get a shape add the salt. If you see that the dough is maybe “asking” for some more water then you can add some little more. Let the machine work the dough for 10-15 minutes, don’t worry if it’s quite soft (but if you feel more comfortable you can reduce the water, but it will be more compact the final result).
- Then put the dough in a big greaed bowl, then cover it with a plastic wrap and place it in the fridge for about 12 hours (it will double the size, even more, so consider it when you choose the bowl).
- Three hours before working the dough take it out from the fridge, we have to work it at room temperature.
- Spread enough flour on your working table and flatten the dough into e rectangular shape and at a thickness of about 1 cm (I used again semolina flour, and I flattened the dough directly on my granite table, the dough is quite large).
- Now we have to do the folding, spread a thin layer of lard (soft/melted) on all the surface of the flattened dough and then bend the dough 3 times like a book: you bend one side until 1/3 of the largeness, then another 1/3 and then again until you reach the opposite side, and wait 10-15 minutes. Then flatten again, again about 1 cm thick, and repeat the same operation using the remaining lard and bending again the dough in the same way. Then flatten again, 1 cm thick, rectangular shape. Repeat this operation until you use all the fat. Every time you flatten the dough be sure to have enough flour on the bottom. With this technique you will obtain a nice layered effect.
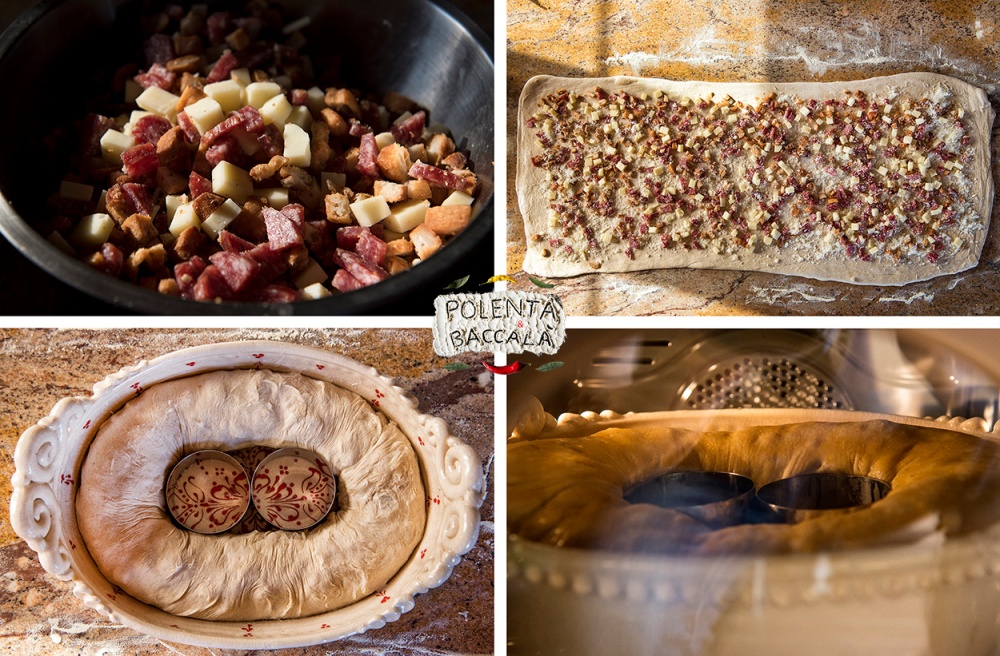
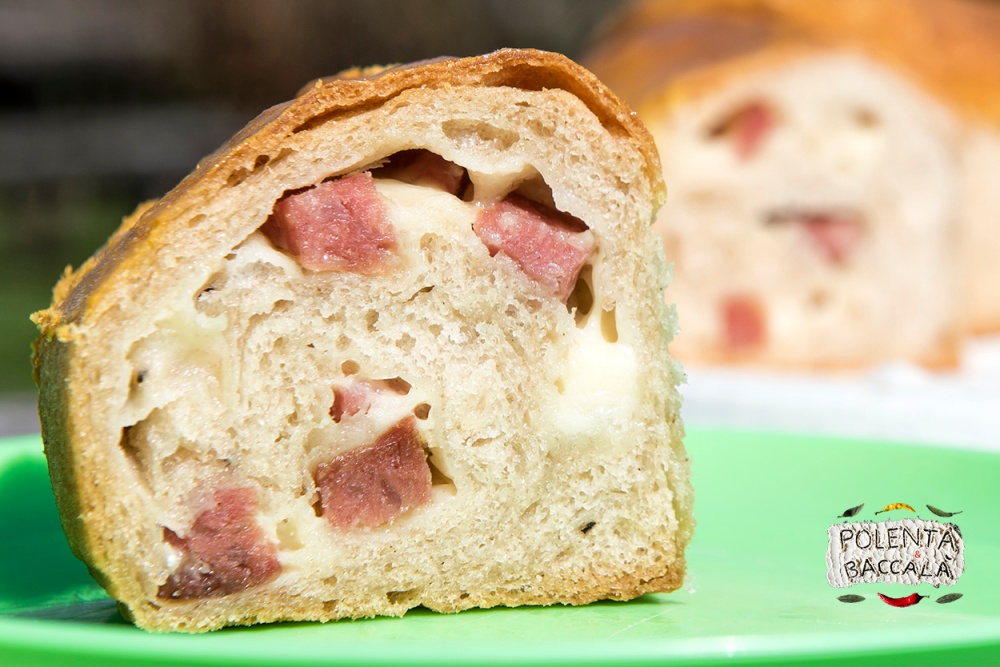
- Now we can start to fill the dough (but before cut a small piece of dough to make the crosses on the eggs later, or if you prefer put boiled egg in the filling, cut in pieces): cut the salami, the provolone piccante into cubes, add the cicoli, then mix them in a bowl and distribute on all the surface, first the grated Pecorino cheese then all the others.
- Now roll carefully the dough on the longest side, until you have a long “snake”…it will be about 1 meter long 🙂
- Take the largest and highest baking pan you have (a doughnut shape, and at least 9-10 cm high), or if you prefer take two pans and cut the roll in two halves. Before placing the roll in the baking pan you have to connect the two ends, making one end enter in the other. Then carefully place it in the baking shape, but before spread some fat on the bottom and on the sides.
- Cover with a wet clean towel and let it grow at room temperature for other 2-3 hours about (it depends on your room temperature), until it reaches almost the top of the baking pan.
- When it’s fully grown place the eggs on the top pushing them a bit in the dough, keep them at same distance to each other, and block each of them using a cross made with 2 lines of dough from the piece you kept aside earlier (but I didn’t do this).
- Bake in the oven at static mode, 180 °C, for about 60 minutes (a bit less for the small size ones, control if it’s well cooked by introducing a wooden stick in the core). After the first 40-45 minutes spread one yolk on all the surface using a brush. The perfume will be amazing 🙂
- Let it cool down and then enjoy it, the pasta it was really “light” and soft although it’s clearly not a light food 🙂 it’s easily good for 3-4 days long, and if you want it warm just place your slice in the oven at about 120 °C for some minutes.
PS: to make crunchy also the bottom of the casatiello, when it’s ready remove it from its shape, and then place it on an oven tray and bake it for other few minutes in fan-assisted mode, in this way also the bottom will be more crunchy.
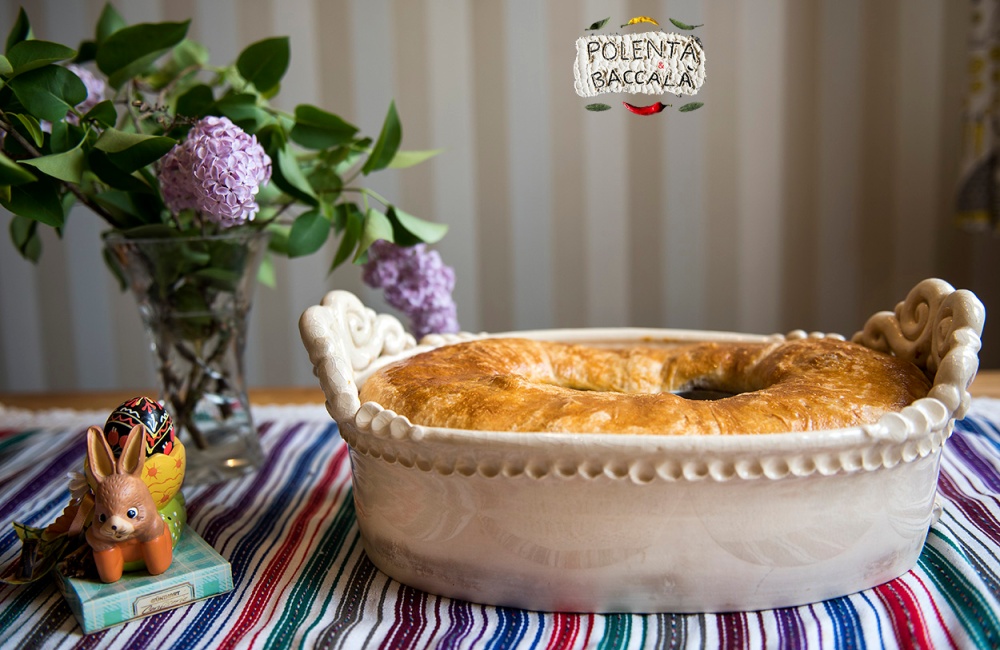


Lilac allready blooms in!?! 🙂
Thank you for recipe, I love cakes with savoury fillings 🙂
LikeLiked by 1 person
Thank you Ruta 🙂
Yes, I suppose in Estonia spring comes a bit later 😀 but today also here it seems the winter came back! I hope not for long 🙂
LikeLiked by 1 person
I learnt something new today. Thanks for sharing.
LikeLiked by 1 person
I’m glad about it 🙂 thanks to you for reading!
LikeLiked by 1 person